emails
- Home
- emails
Email Templates
In Ice Ledger you can send email to your customes and suppliers, email documents, send promotional emails and news letters.
Documents (sales orders, sales invoices, purchase orders etc..) and reports may be printed and saved as PDF files and sent using emails as attachments. To do this, select Email-with-attachment as the output option and the appropriate email template in the print dialogue screen and click OK. The document / report will be printed to disk as a PDF file in the specified destination folder and sent as an email attachment.
The emails that are created are template based. You can create your own custom templates here.
Go to Reports, Email Templates to get to the email templates browser screen.
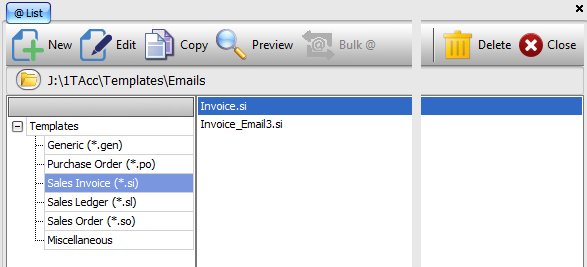
Email templates are categorised in to different types, depending on the which module they are designed for. The tree-view, on the left hand side, shows template types that are currently saved on the system – in the folder (J:\1TAcc\Templates\Emails) listed below the top toolbar. The Emails template folder is located within the templates folder, set in Settings, Configurations, Workstation: Templates Folder. If new template types are created, thes will be added to the list automatically.
Email Template
You can click on an existing template and click the Copy button to create a copy of an existing template to modify.
For now, let us assume that we want to create a new email template for sending out sales invoices to customers. To create a new template, select the Sales Invoice from the list of template types and click on the New button, on the toolbar.
You will be presented with a blank screen that looks very similar to a screen for creating a new email message with a few exceptions. First of these being, the Type Selector button, just below the Save button. Click this button to select the email template type you wish to create.
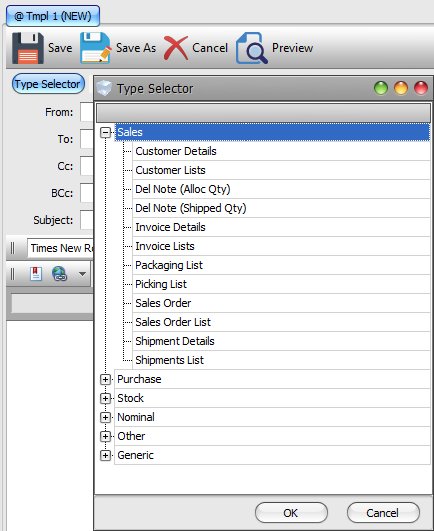
For our purpose, expand the Sales section and select Invoice Details and click OK. Make sure you have the correct template type selected because, once saved, it cannot be changed. Selecting the template type determins what information is accessible for customising the email content.
Just above the email body section, there are 2 drop-down list views. List of tables:
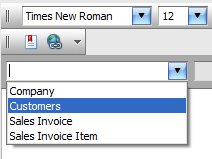
and list of fields from the selected table that we can use to customise the email content.
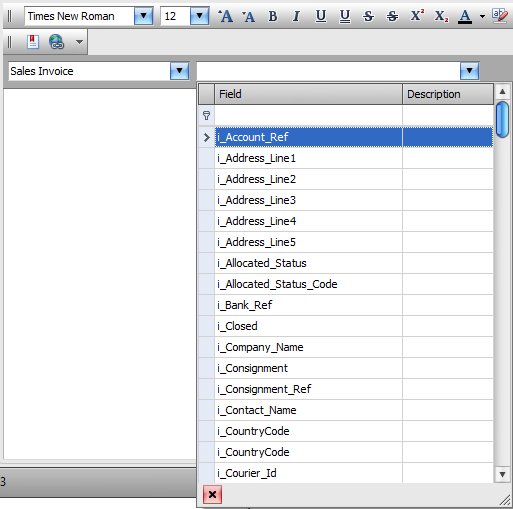
By selecting a table in the first drop-down list, we can select a field from the selected table as the source of data to insert into the email at run time. To insert the field into the email template, first select the appropriate table and field and whilst holding down the control (Ctrl) key, left-click the mouse button to insert the field at the text cursor. Have a little practice to get used to inserting different fields.
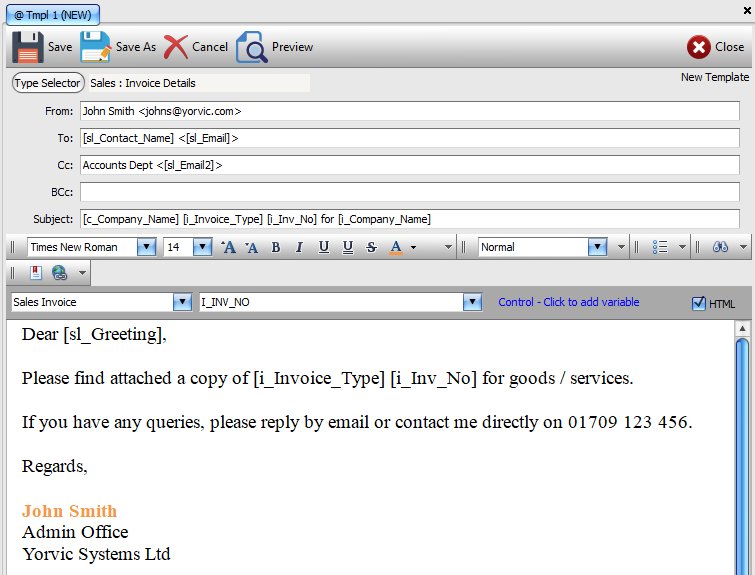
Once you are ready to proceed, fill in the details, as below. Feel free to make your changes:
- From: You can specify which email address the messages are from. If left blank, the from email address in system configurations will be used. There must be a valid from email address for email messages to be sent. For all email addresses you can also enter a display name e.g. John Smith <johns@yorvic.com>. Note the space between the display name and the ‘<‘ – it is mandatory.
- To: Recipient email address. We can select the contact name and email address from the customer table. Feel free to select any email address field (e.g. sl_Email2 or sl_Email3) that you use to save a valid email address. Please note, if you routinely save the display name in the email field then do not enter the display name as we have done here.
- CC: Similar to the previous field, To. If a c.c. address is specified in the system configurations, then it will be added to the c.c. list.
- BCC: Similar to the previous field, c.c.
- Subject: You can enter any text or data fields. Here we have our company name, document type (Invoice or Credit note), invoice / credit note number and the name of the company that the invoice / credit is for.
- Body: Again you can enter any combinations of text and data fields. In the customer and supplier records you can enter a greeting in the greetings field and use as the salutation (i.e. Dear Chris or Dear Mr Thomas …) in emails. If you want to jazz up your email then tick the HTML option to the top right of the body section. With this checked, you can use all the additional controls to change the size, font and colour of template content.
Any text typed in the email template will be printed as is when an email is created form the template. All the fields from the different table will be replaced with the actual details from the actual tables. Once you are happy with your template, click the Save button to save.
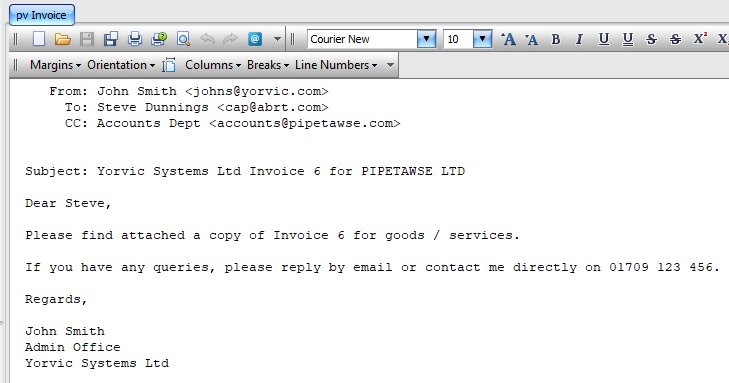
In the email template browser screen, you can click on an email template to select it and click the Preview button to preview the email that would be generated. The preview is text and not HTML based.
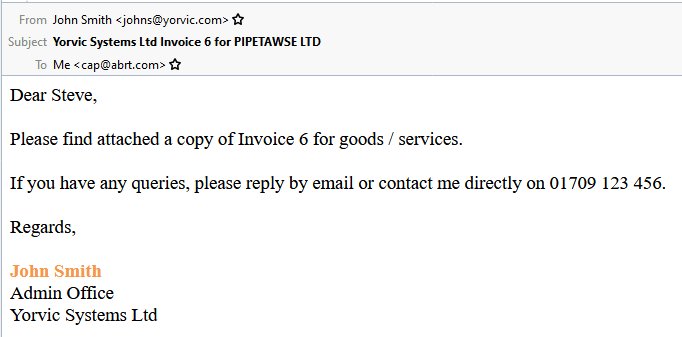
Below is a screen shot of a sample of an email that was generated using the above template.
Images
To embed a single image, ensure that the HTML check box is ticked and add an image tag (in lower case):
<image>full-path-name-of-image-file-including-file-ext</image> e.g. <image>c:\images\my image file.jpg</image>
List of Tables
- Audit – Audit Trails Header
- Audit Item – Audit Trail Items
- Company – Company Details from System Settings
- Customers – Customer Details
- GDN – Goods Delivery Note Header
- GDN Item – Goods Delivery Note Items
- GRN – Goods Received Note Header
- GRN Item – Goods Received Items
- Nominal – Nominal Accounts
- POE – Purchase Order Enquiries Header
- POE Item – Purchase Order Enquiries Items
- Purchase Invoice – Purchase Invoices Header
- Purchase Invoice Item – Purchase Invoice Items
- Purchase Order – Purchase Orders Header
- Purchase Order Item – Purchase Order Items
- Sales Invoice – Sales Invoices Header
- Sales Invoice Item – Sales Invoice Items
- Sales Order – Sales Orders Header
- Sales Order Item – Sales Order Items
- Stock – Stock Records
- Stock Transaction – Stock Transactions
- Suppliers – Suppliers
