This tutorial describes the steps to create a report with parameters. In this example, we'll create two date-time parameters, to filter out orders which don't fall in the specified range, from the report.
First, create a report and bind it to a data source.
To add parameters and filter your report based on their values, follow the steps below.
-
In the Field List window, right-click over the Parameters section and in the invoked menu, click Add Parameter.
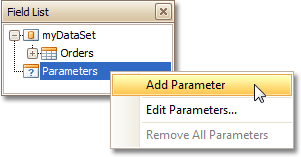
Repeat this action to create the second parameter.
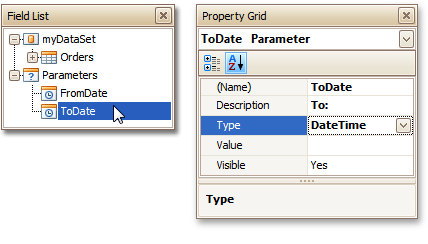
In the Field List, select the first parameter, and in the Property Grid, set its (Name) and Description. And make sure to set its Type to an appropriate value.
Then, repeat this step for the second parameter.
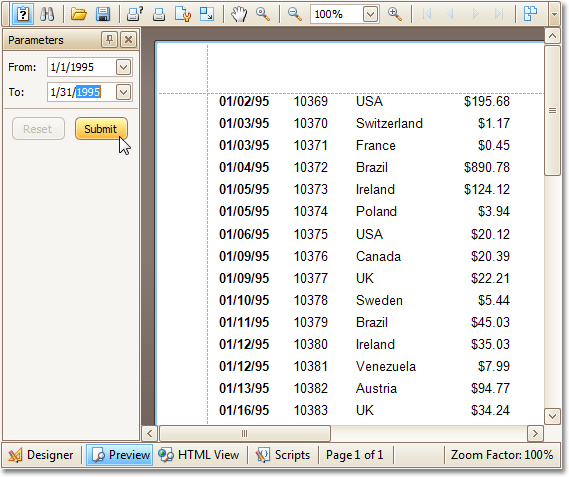
Now, every time your report is previewed, you will be asked to specify two dates.
 Note
Note In Print Preview, if a report's Request Parameters option is set to Yes, its document is not generated until you have submitted values of all visible parameters via the Parameters UI.
The following instructions explain how to use parameters to filter your report's data.
-
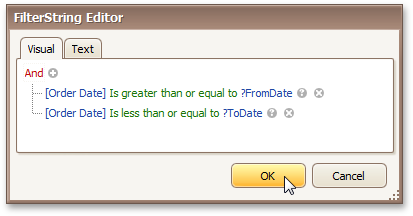
Click your report's Smart Tag, and in the invoked actions list, click the ellipsis button for the Filter String entry. Then, in the invoked Filter String Editor, construct an expression where a data field is compared with the created parameters. To access parameters, click the icon on the right until it turns into a question mark.
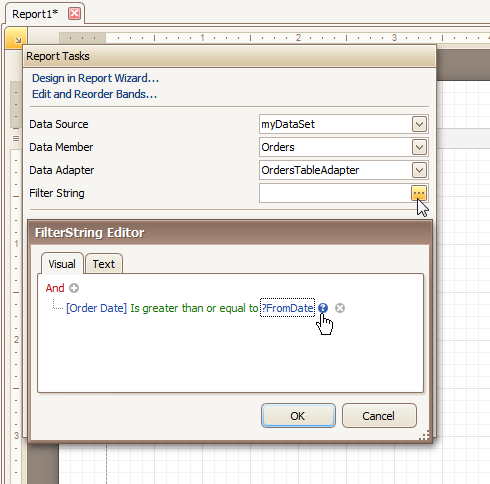
The complete filtering expression will then look like this.
The parameterized report is now ready. Switch to the Preview Tab, and in the Parameters section, define the required values and click Submit.