This tutorial describes the steps to create a multi-column report, meaning that each page of the report document is laid out in a specified number of columns.
To demonstrate the multi-column feature, we'll use a report with grouping, similar the one created in the following tutorial: Change or Apply Data Grouping to a Report.
-
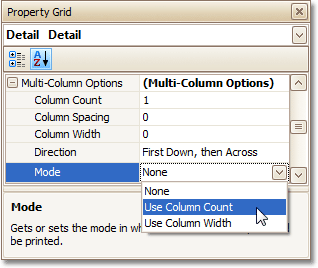
Select the Detail band, and in the Property Grid, expand the Multi-Column Options section.
First, set the required Mode. It determines whether the number of columns is manually specified, or it depends on the fixed column width.
-
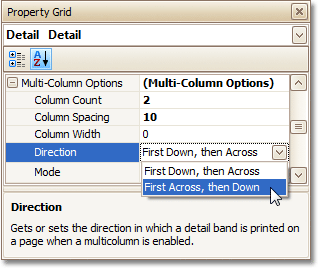
Then, if you've chosen to Use Column Count, set the Column Count to 2, and Column Spacing to 10.
The Direction determines the order in which records of the same group are processed.
-
Now, on the Detail band's surface a grey area appears, delimiting the available column's width. Adjust the controls width, so that they fit within the effective borders.

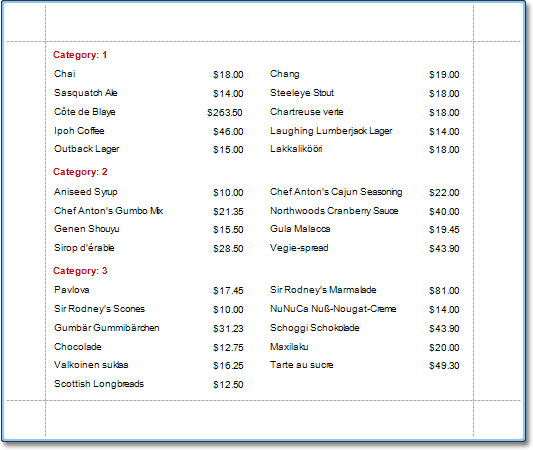
The multi-column report is now ready. Switch to the Preview Tab, and view the result.